Introduction
Direct to Film (DTF) printing has revolutionized the custom apparel industry with its ability to deliver high-quality, full-color prints on a wide range of fabrics. It’s a flexible and cost-effective printing method that is increasingly preferred by businesses, creators, and print shops. If you’re new to the technology or simply want a clearer understanding of how it works, this blog provides a detailed step-by-step guide to the DTF printing process.
What Is DTF Printing?
DTF stands for Direct to Film printing. As the name suggests, the process involves printing a design onto a special film, applying a heat-melt adhesive powder, and then transferring the design onto fabric using a heat press. Unlike other methods like screen printing or sublimation, DTF doesn’t require pre-treatment of garments and works on a wider variety of materials—including cotton, polyester, blends, and even leather.
Now, let’s break down the process from start to finish.
Understanding the DTF Printing Process: Step-by-Step Breakdown
Step 1: Design Creation
The first step in the DTF workflow is creating the artwork. This can be done using graphic design software such as:
- Adobe Illustrator
- Photoshop
- CorelDRAW
- Canva (for beginners)
Your artwork should be high resolution (300 DPI or higher) with a transparent background. Since DTF can handle complex and colorful images, designers can explore gradients, textures, and intricate details without limitations.
Pro Tip: Keep in mind the size and placement of the design on the garment when creating it. Consider how it will appear on various sizes and colors of apparel.
Step 2: Printing the Design on PET Film
Once your artwork is ready, it’s time to print. DTF Printers uses PET (Polyethylene Terephthalate) film, which is specially coated to hold the ink and allow it to transfer cleanly.
The printing process typically includes:
- White Ink Layer: A layer of white ink is printed first. This acts as a base for the design and ensures that colors appear vibrant, especially on dark garments.
- Color Layer: The colored layer is printed over the white base. DTF printers typically use CMYK inks for full-color output.
Most modern DTF printers are dual-head machines that can print white and color simultaneously, ensuring efficiency and precision.
Step 3: Applying the Adhesive Powder
After the print is complete, the wet ink on the film is sprinkled with a thermoplastic adhesive powder. This powder is essential for bonding the design to the garment.
Here’s how this step works:
- Spread the powder evenly over the printed area.
- Gently shake the film to remove excess powder.
- Make sure the powder fully covers the inked portions of the design.
Some setups include automatic powder shakers and dryers for larger-scale operations. For smaller businesses or hobbyists, manual application works just as well with care.
Step 4: Curing the Powder
Before transferring the print, the adhesive powder must be cured. This can be done using:
- A curing oven (ideal for batch production)
- A heat press (without pressure)
- A conveyor dryer
The curing process generally involves heating the powder to 160–170°C (320–338°F) for about 2–3 minutes, until it melts and becomes slightly glossy. Proper curing ensures the adhesive bonds well to the fabric during the transfer stage.
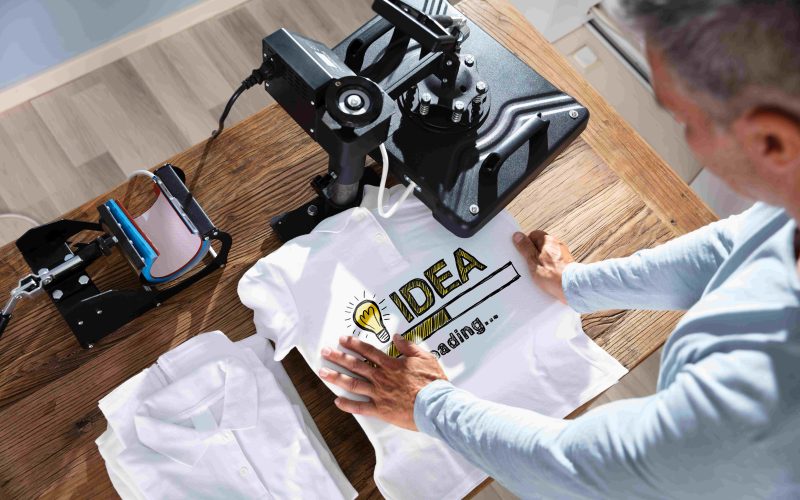
Step 5: Transferring the Design to Fabric
Now comes the exciting part—transferring the design to the garment.
Here’s how:
- Place the cured PET film onto the fabric with the printed side facing down.
- Set your heat press to 160–170°C (320–338°F) with medium to high pressure.
- Press for 15–20 seconds.
The combination of heat and pressure activates the adhesive and bonds the design permanently to the garment.
Step 6: Peeling the Film
Once the heat press cycle is complete, allow the garment to cool for a few seconds. Then, peel the PET film off the fabric.
Depending on the film used, you’ll either hot peel (immediately after pressing) or cold peel (after the design cools down). Cold peel films often deliver a more matte and smooth finish, while hot peel films are quicker for bulk jobs.
Step 7: Final Pressing (Optional)
For extra durability and a more polished finish, many printers opt for a final heat press.
- Cover the print with parchment paper or a Teflon sheet.
- Press again for 5–10 seconds.
This step helps improve washability and softens the feel of the print, giving it a more retail-quality finish.
Benefits of the DTF Printing Process
- Wide Fabric Compatibility: Works on cotton, polyester, denim, nylon, blends, and more.
- No Pre-Treatment Needed: Saves time and reduces material cost.
- Vibrant, Long-Lasting Prints: Colors remain bold even after multiple washes.
- Low Minimums: Ideal for small-batch or one-off orders.
- Simple Workflow: Easy to learn, with minimal equipment for entry-level setups.
Final Thoughts
Understanding the DTF printing process step by step can help you make the most of this innovative technology. Whether you’re a custom apparel brand, print shop owner, or creative entrepreneur, DTF printers offer a versatile and efficient way to produce high-quality, eye-catching designs.
From design creation to heat transfer, every stage plays a role in delivering a professional finished product. With the right tools and attention to detail, DTF printing can unlock new levels of creativity, flexibility, and profitability for your apparel business.


