


Introduction
Painting your home is more than just adding a fresh coat of color. It can transform the look, feel, and value of your property. However, the key to a smooth, long-lasting paint job lies in proper preparation. Experienced home exterior painters know that rushing through prep work can lead to peeling, cracking, or uneven surfaces. From cleaning and repairing walls to choosing the right primer and paint, proper preparation ensures your home looks professional and lasts longer. This guide shares essential insights to help you prepare your home effectively for painting.
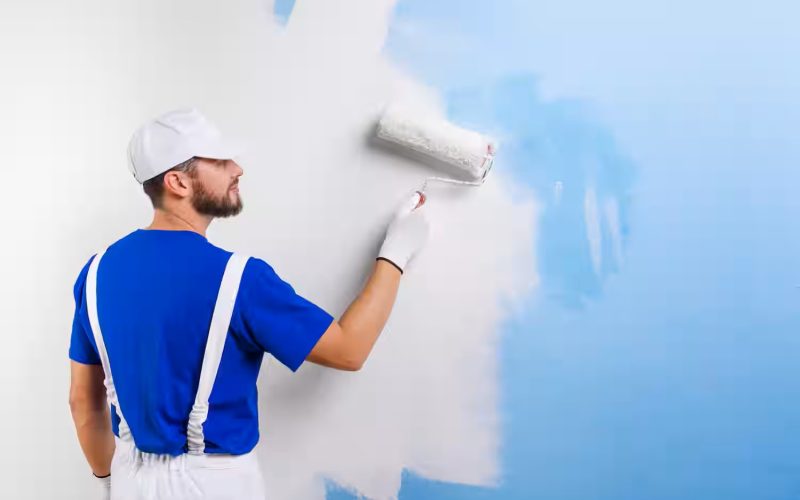
Preparing Your Home for Painting: Experienced Home Exterior Painters

1. Evaluate the Condition of Your Home Exterior
Before painting, take a close look at the condition of your exterior surfaces. Check for peeling paint, cracks, water damage, mold, and mildew. Assess whether any areas need repairs or replacement. Old, damaged paint must be scraped off, and surfaces should be smoothed to ensure the new paint adheres well. Experienced painters often recommend starting with a thorough inspection to create a clear plan for repairs and preparation. Addressing these issues early prevents future problems and ensures a flawless finish.
2. Clean the Surfaces Properly
Cleaning the exterior surfaces is crucial for paint to stick properly. Dirt, dust, mold, and mildew can prevent adhesion and affect the paint’s durability. Home painters often use pressure washing for siding, decks, and other large surfaces. For delicate areas, mild detergents and soft brushes work best. Pay special attention to corners, eaves, and areas near the ground where grime accumulates. Thorough cleaning not only ensures a smooth application but also enhances the overall appearance of your home before painting even begins.
3. Repair and Patch Damaged Areas
After cleaning, repair any cracks, holes, or damaged sections of your exterior. Use exterior-grade fillers, caulk, or putty for cracks and gaps around windows, doors, and siding. Replace rotted wood, damaged panels, or shingles where necessary. Proper repairs prevent moisture from seeping in and causing paint to peel or blister. Experienced painters emphasize that well-prepared surfaces not only look better but also extend the life of your paint job, saving money on future touch-ups and maintenance.
4. Sanding for Smooth Surfaces
Sanding is a step often overlooked by homeowners but is essential for a smooth, professional finish. Sand rough spots, peeling edges, and glossy surfaces to create even texture. This step allows primer and paint to adhere properly. Use fine-grit sandpaper for wood and rougher grits for stucco or concrete. Removing imperfections with sanding ensures your paint goes on evenly, reduces visible brush marks, and makes your home look freshly finished, like the work of a professional painter.
5. Apply Primer Correctly
Primer is a vital part of exterior painting. It helps paint adhere better, hides stains, and provides a uniform base for color. Experienced painters choose primers based on the surface type: wood, metal, or masonry. Using a high-quality primer prevents peeling, ensures vibrant color, and protects surfaces from weather damage. For repairs or bare patches, a primer coat ensures that paint coverage is even and long-lasting. Skipping this step may save time initially but can lead to costly issues down the road.
6. Choose the Right Paint and Tools
Selecting the right paint is essential for durability and aesthetic appeal. Exterior paints are designed to withstand weather changes, UV rays, and moisture. Water-based paints are popular for their quick drying and low odor, while oil-based paints offer better adhesion and durability in harsh climates. In addition to paint, having the right tools—brushes, rollers, sprayers, ladders, and drop cloths—makes the job smoother. Experienced painters stress investing in quality brushes and rollers for even coverage and professional results.
7. Protect Surrounding Areas
Before painting, protect areas that should not be painted. Use drop cloths for patios, lawns, and landscaping. Cover windows, doors, and fixtures with painter’s tape and plastic sheeting. Protecting surrounding areas ensures a clean, professional finish and prevents unnecessary cleanup later. Experienced painters also suggest moving outdoor furniture or equipment away from the work area to reduce the risk of accidents or paint splatter.
8. Plan Your Painting Process
Organizing the painting process saves time and ensures consistent results. Start from the top and work downward to prevent drips on finished areas. Paint in sections, allowing each coat to dry properly before applying the next. Experienced painters recommend working in good weather conditions, avoiding extreme heat, humidity, or rain, which can affect paint adhesion and drying time. A well-planned painting schedule reduces stress and leads to a flawless exterior finish.
9. Safety Considerations
Safety is essential when preparing and painting your home. Use ladders and scaffolding safely, wear protective gloves, masks, and goggles, and ensure proper ventilation when working with chemicals or paint sprays. Experienced painters advise checking local regulations for safe disposal of paint and solvents. Prioritizing safety not only protects you but also prevents accidents that could delay the painting project.
10. Final Inspection Before Painting
Once your home is cleaned, repaired, sanded, primed, and protected, conduct a final inspection. Check for missed areas, remaining dirt, or uneven surfaces. Fix small imperfections before starting the paint application. Experienced painters believe that careful inspection ensures every inch of your home is ready, reducing the risk of errors and ensuring a smooth, professional-looking paint job.
Conclusion
Proper preparation is the foundation of a successful home painting project. Experienced home exterior painters stress the importance of evaluating surfaces, cleaning thoroughly, repairing damages, sanding, priming, choosing the right paint, protecting surrounding areas, planning the process, prioritizing safety, and conducting final inspections. Taking these steps ensures your home not only looks beautiful but also enjoys a long-lasting paint finish. By investing time and effort in preparation, you can achieve professional-quality results that enhance the value and charm of your home.