


Introduction
If you’re facing weak WiFi in parts of your home or apartment, installing a WiFi range extender is a smart way to boost coverage without replacing your entire router. This guide walks you through the setup process for a NETGEAR WiFi range extender in clear, simple steps — whether you’re using the WPS method, the browser setup, or the mobile app. Should you run into any issues, support is available at +1–872–777–1190 or 1 (833).800.3030.
Why Use a NETGEAR WiFi Range Extender?
- They’re designed to connect to your existing router and expand wireless coverage to underserved areas of your home.
- NETGEAR supports three primary setup methods: WPS push-button, web-browser setup, and the Nighthawk mobile app.
- You don’t have to overhaul your entire network — you simply plug it in halfway between your router and the WiFi dead-zone.
Pre-Setup Checklist
Before you dive in, make sure you have:
- Your current WiFi network name (SSID) and password handy.
- A power outlet near your router for the initial setup.
- A computer or mobile device ready to connect to the extender’s temporary WiFi network if needed.
- If your router supports WPS (Wi-Fi Protected Setup), that method will be easiest.
How to Set Up Your NETGEAR WiFi Range Extender Easily
Setup Method 1: WPS (Quick & Easy)
This is the fastest method if both your router and the extender have a WPS button.
- Set your extender (if it has a switch) to Extender mode.
- Plug in the extender near your router (for the initial setup). Wait until the Power LED is solid green or blue (may take 1-2 minutes).
- Press the WPS button on the extender. The WPS LED will blink.
- Within 2 minutes, press the WPS button on the router. If successful, the extender’s WPS LED turns solid green or blue. The Router LED on the extender also lights solid.
- Once connected, unplug the extender, move it to a location roughly halfway between the router and the area with weak WiFi, then plug it back in. Wait for LEDs to stabilize.
- Connect your devices to the extended network (it may use the same SSID or your network_EXT / _2GEXT etc). Your original WiFi password will apply.
Tip: If the extender fails to connect via WPS, switch to the browser‐based method below.
Setup Method 2: Web Browser Setup
Use this method if your router doesn’t support WPS or you want more control over the setup.
- Plug the extender in near your router. Wait until the Power LED is solid.
- On your computer or mobile, connect to the extender’s WiFi network. The default network name is usually NETGEAR_EXT (or similar) and might have a default password of “password”.
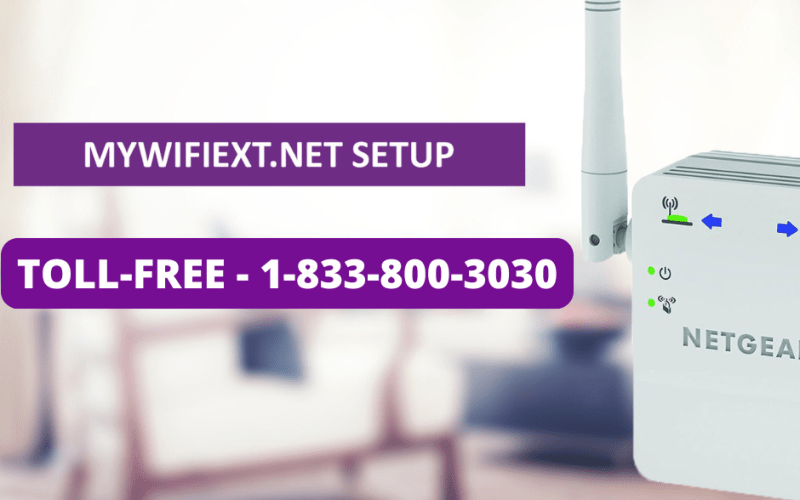
- Open a browser and navigate to mywifiext.net (or 192.168.1.250, depending on the model) to access the setup wizard.
- You’ll be asked to create an admin username & password for the extender (these are for the extender’s settings, not your WiFi password) and set security questions.
- The wizard will scan for nearby WiFi networks. Choose your existing WiFi network(s) (2.4 GHz and/or 5 GHz) and enter the password for your existing network.
- Choose SSIDs and passwords for the extended network(s). You can keep the same name and password as your existing network (if supported) by enabling “One WiFi Name”.
- Wait for the extender to apply settings (may take a few minutes). Then unplug and relocate the extender to a halfway spot between router and dead zone and plug it in. Wait for the LEDs to stabilize.
- Reconnect your devices to the extended network (using the SSID/password you chose in step 6).
Setup Method 3: Nighthawk App (Modern Method)
For newer NETGEAR extenders, the Nighthawk App simplifies setup even further.
- Install the Nighthawk App on your iOS or Android phone.
- Plug in your extender near your router and wait for the LED to go solid green/blue.
- Open the Nighthawk App → Menu → Set Up a New Nighthawk System → Range Extender.
- The app will guide you to connect your phone to the extender’s network (NETGEAR_EXT) and then scan for your home WiFi. Select your network and enter your WiFi password.
- Create extender admin credentials and answer the security questions. The app may prompt you to update firmware.
- Once configured, you can unplug the extender and move it to its final location (halfway point) and plug it in. Wait for the LEDs to settle.
Choosing the Best Location for Your Extender
Once setup is done, the location of your extender is critical to performance:
- The ideal spot is midway between your router and the WiFi dead zone — where the signal is still strong, but not right next to the router.
- Avoid placing it in a corner, behind large metal objects, or inside a cabinet.
- After relocating, wait for the LEDs to go solid green or blue before testing WiFi.
- Use a smartphone or laptop to test signal strength in the target area — if still weak, move the extender slightly closer to the router.
Troubleshooting Tips
If you run into issues, here are common fixes:
- Extender LEDs don’t turn solid: Ensure it’s plugged into a working outlet and wait 1-2 minutes. If it’s blinking long, try resetting the extender and repeating setup.
- Cannot access mywifiext.net: Make sure your device is connected to the extender’s WiFi. Try typing
mywifiext.local(Mac/Android) or check the extender IP in your router’s client list. - Extended network has no Internet: Ensure the extender is correctly connected to your main WiFi network (you entered the password correctly) and verify it is placed in a good location. Some users reported connection failure with specific models.
- Using non-NETGEAR router: Confirm compatibility, update firmware on router and extender if available. Some mismatches can cause setup issues.
- To reconnect or reset: Press and hold the factory settings button on the extender for ~7 seconds, then repeat setup.
Final Checklist Before You Start Using It
- Make sure all your WiFi devices (phones, tablets, smart TVs) are connected to the extended network SSID (or same name if you enabled “One WiFi Name”).
- Check the speeds in previously weak areas to confirm coverage has improved.
- Keep your extender’s firmware up to date via the web interface or Nighthawk App.
- Secure admin credentials for the extender and store them safely — they’re separate from your WiFi network password.
- Need help? Contact support at +1–872–777–1190 or 1 (833).800.3030 and mention your extender model and router brand.
In Summary
Setting up your NETGEAR WiFi range extender doesn’t need to be complicated. Choose the method that suits you WPS for the fastest setup, browser method for flexibility, or Nighthawk App for convenience. Follow the steps, choose a smart location for the extender, and you’ll soon enjoy stronger, more reliable WiFi throughout your space. If you hit a snag, support is just a phone call away at +1–872–777–1190 or 1 (833).800.3030. Happy streaming, browsing, and gaming!