


Introduction
Setting up your Canon printer correctly ensures smooth printing, scanning, and wireless connectivity. Whether you’re using it for home or office, following a step-by-step guide helps you avoid errors and get your printer running in minutes. This guide covers unboxing, installation, driver setup, Wi-Fi configuration, and troubleshooting tips. [Dial +1-801-878-6858 USA]
Live Chat With Us For Canon Printer Support
Things You’ll Need Before Starting
Before we begin the setup, make sure you have these things ready:
- A Canon printer (make sure it’s out of the box and has power)
- Your Wi-Fi network name and password (if you’re setting up wirelessly)
- A computer, laptop, or mobile device
- USB cable (only if using a wired setup)
- Canon printer driver (available from Canon’s official website or installation CD)
How to Set Up Canon Printer: Complete Installation Guide
Step 1: Unbox and Prepare the Printer
Start by unpacking your Canon printer:
- Remove all packaging materials from the outside and inside of the printer.
- Plug in the power cord and turn the printer on.
- Follow the prompts on the printer’s screen, if it has one.
- Install the ink cartridges that came with the printer.
- Load plain paper into the paper tray.
Your printer should now be ready for connection.
Step 2: Choose the Connection Type
You can connect your Canon printer in three ways:
- Wireless (Wi-Fi)
- USB (Wired)
- Mobile Setup (for smartphones and tablets)
We’ll go through each option step-by-step.
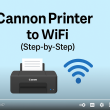
Step 3: Canon Wireless Printer Setup (Wi-Fi)
1. For Printers With a Screen
- On the printer screen, go to the Settings or Wi-Fi Setup option.
- Choose Wireless LAN Setup.
- The printer will search for available Wi-Fi networks.
- Select your Wi-Fi name from the list.
- Enter your Wi-Fi password using the screen’s keyboard.
- Wait for the confirmation message that says Connected Successfully.
2. For Printers Without a Screen
Use the WPS (Wi-Fi Protected Setup) method:
- Press and hold the Wi-Fi button on your printer until the light starts blinking.
- Go to your router and press the WPS button.
- Wait a few minutes until the Wi-Fi light on the printer stops blinking and stays solid.
Your printer is now connected to the wireless network.
Step 4: Install Canon Printer Driver on Computer
Once your printer is connected, the next step is installing the printer software on your computer.
1. For Windows
- Go to your computer and open a browser.
- Search for your Canon printer model and download the driver.
- Open the file and run the setup.
- When asked, select your connection type (Wireless or USB).
- Follow the on-screen instructions to complete the setup.
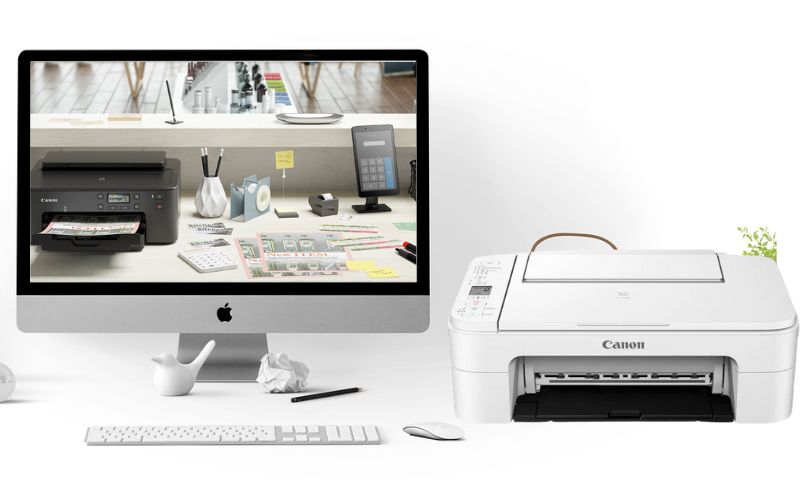
2. For Mac
- Open System Preferences > Printers & Scanners.
- Click the + button to add a new printer.
- Your Canon printer should appear in the list. Select it.
- If prompted, allow your Mac to download and install the printer driver.
- Click Add to finish.
Step 5: USB Canon Printer Setup (Wired Setup)
If you’re not using Wi-Fi, you can connect the printer directly to your computer with a USB cable.
- Plug the USB cable into the printer and your computer.
- Turn the printer on.
- Download and run the Canon printer driver as described earlier.
- When asked for the connection type, choose USB.
- Follow the prompts to finish the setup.
Your printer is now ready for printing with a wired connection.
Step 6: Mobile Setup for Canon Printers
If you want to print from your phone or tablet, follow these steps:
1. For iPhone or iPad
- Download the Canon PRINT Inkjet/SELPHY app from the App Store.
- Open the app and tap Add Printer.
- Make sure your printer and phone are on the same Wi-Fi network.
- Select your printer from the list.
- Once connected, you can print photos, documents, and more.
2. For Android Devices
- Go to the Google Play Store and install the Canon PRINT Inkjet/SELPHY app.
- Open the app and follow the same steps as above.
- If needed, you can connect directly using Wi-Fi Direct, which doesn’t require a router.
Step 7: Print a Test Page
After setup, it’s a good idea to print a test page to make sure everything is working.
1. On Windows
- Go to Control Panel > Devices and Printers.
- Right-click your Canon printer and choose Printer Properties.
- Click on Print Test Page.
2. On Mac
- Go to Printers & Scanners.
- Select your printer and click Options & Supplies.
- Click Utility, then Print Test Page.
If the page prints successfully, your Canon printer setup is complete.
Troubleshooting Common Setup Issues
Here are quick fixes for common problems:
- Printer not found: Make sure it’s turned on and connected to Wi-Fi.
- Driver won’t install: Check that you’re downloading the correct version for your system.
- Poor print quality: Run the printer’s cleaning function through the settings menu.
- Mobile device can’t connect: Ensure both printer and phone are on the same Wi-Fi network.
If you’re still facing issues, restart your printer, computer, and router.
Tips to Keep Your Canon Printer Working Smoothly
Once your Canon printer is installed, follow these tips to keep it in top shape:
- Print a page every few days to keep ink flowing smoothly
- Keep your printer software updated
- Use genuine Canon ink cartridges for better quality
- Clean your printer heads regularly using the built-in tools
- Store paper in a dry place to avoid jams
Conclusion
Setting up your Canon printer doesn’t have to be stressful. Whether you’re using Wi-Fi, USB, or printing from your mobile phone, the steps are easy to follow and don’t take much time. Once installed, your printer is ready to handle everyday printing tasks at home or in your office. With regular care and the right setup, your Canon printer will give you reliable service for a long time. Take your time, follow each step, and enjoy smooth, worry-free printing.