


Introduction
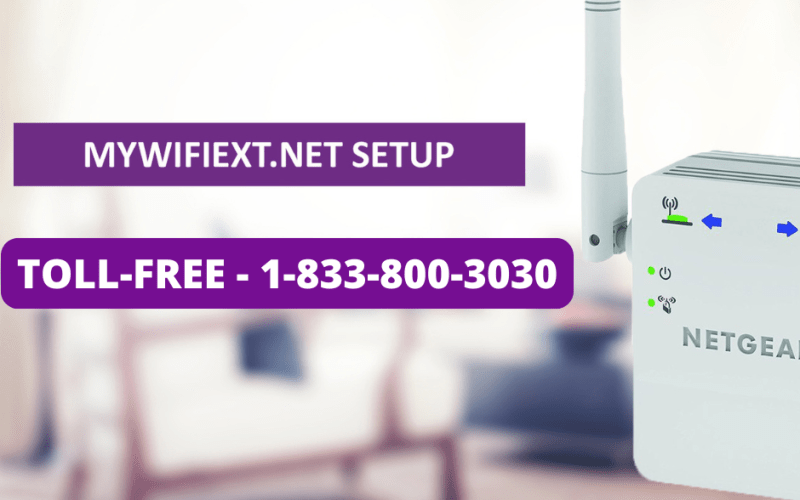
If you’re looking to extend your WiFi coverage at home or in your office, setting up and logging into your WiFi extender is a key step. This guide walks you through the login process for the popular portal mywifiext.net, troubleshooting tips, and best practices to ensure your extended network is working smoothly. If you run into issues, you can also reach support at +1-872-777-1190 or 1 (833).800.3030 for assistance.
What is mywifiext.net?
The URL mywifiext.net is the web-based setup and login interface for many WiFi range extenders made by NETGEAR (and similar brands). It allows you to access the extender’s configuration page so you can:
- Log in to the extender’s admin interface and change settings.
- Link the extender to your existing wireless router / gateway.
- View or change the extended network’s SSID, password, and other settings.
Because the interface is local (on your network) rather than a general Internet site, you must connect to the extender’s network first in order to access the login page.
Before you log in: Quick checklist
Before trying to log in at mywifiext.net, make sure of the following:
- Power: Your extender is plugged into power, turned on, and the power LED is lit.
- Placement: During setup, it’s easiest if your extender is in the same room as the router. Once set up, you can move it to the ideal location.
- Network connection: Connect your computer, tablet or smartphone to the extender’s default WiFi SSID (which often is named something like “NETGEAR_EXT”). If you remain connected to your main router’s network, the login portal may not load correctly.
- Browser: Use a modern web browser (Chrome, Firefox, Edge, Safari) and ensure you are entering the address in the address bar rather than searching via a search engine. Typing “mywifiext.net” in the search box may produce irrelevant results.
How to log in to your extender via mywifiext.net
Here is the step-by-step login process:
1. Connect to the extender’s WiFi network
- On your device (PC, laptop, tablet or phone), look for the extender’s SSID. This is often “NETGEAR_EXT” (or similar).
- Connect to that SSID; you might see a warning “No internet access”—that’s normal at this stage.
2. Open your browser and enter the URL
- In the browser’s address bar, type:
http://mywifiext.netand press Enter. - If that fails, you can try:
http://mywifiext.comor the extender’s default IP addresshttp://192.168.1.250(depending on model).
3. Enter your login credentials
- On the login screen you will be prompted for a username and password.
- For many extenders, the default credentials are: Username:
adminand Password:password. (Both are case-sensitive.) - If you previously changed the credentials, use your custom ones.
4. Access the settings menu
- After logging in you’ll reach the extender’s status page. From here you can view settings, change network names, update firmware, and more.
5. Finish setup and connect your devices
- If you haven’t completed the extender setup (linking it to your router), follow the wizard. Once done, connect your phones, laptops, smart TVs, etc., to the new extended WiFi network.
- Then you can move the extender to your desired location (ideally halfway between the router and the dead-zone you want to cover).
If you get stuck at any stage, you can call for help at +1-872-777-1190 or 1 (833).800.3030.
Common issues when logging in and how to fix them
Here are some frequent problems and how to solve them: “Page cannot be displayed” or “Server not found”
This happens when your device isn’t connected to the extender’s network. Make sure you switch your WiFi to the extender’s SSID first.Can’t access mywifiext.net even when connected
Try these:
- Connect the PC to the extender via an Ethernet cable for the login.
- Use a different web browser.
- Clear browser cache and cookies.
- Try the IP address
192.168.1.250instead of the URL.
Wrong username or password
If you changed them and forgot, you’ll need to factory-reset the extender and go through setup again. Make sure to have your router’s WiFi name (SSID) and password handy for re-linking.
Extender won’t link to router / LED lights not stable
Ensure the extender is within range of the router during setup. After setup, it can be relocated. If the lights aren’t right, unplug and re-plug, or reset.
Best practices for network performance & security
To maximize your WiFi extender’s value and keep your network secure, follow these tips:
- Use strong passwords: After logging in at mywifiext.net, change the default admin password (no longer just “password”) and also use a strong WiFi password for the extender’s network.
- Avoid overlapping channels: If your router and extender use the same channel, they might interfere. Many extenders allow auto channel or manual channel selection through the login interface.
- Update firmware: Log in via mywifiext.net periodically and check if there’s a firmware update. This helps security and performance.
- Optimal placement: Place the extender in a location where it still receives a strong signal from your router, yet is close enough to cover the dead zone. Avoid putting it behind metal, large appliances, or inside cabinetry.
- Rename the extended network (optional): Many extenders let you keep the same SSID as the router or append “_EXT”. Choosing the same name can allow seamless roaming, but giving it a distinct name can help you know which access point you’re connected to.
- Monitor connected devices: From the login interface you may view which devices are connected to the extender. If you see unknown devices, you may need to change WiFi password or enable MAC-filtering.
When to call support
If you’ve tried all the steps and still can’t log in at mywifiext.net or your extender isn’t functioning properly, it might be time to call professional support. Here are some triggers:
- The login page still fails after connecting to the extender’s SSID and trying
192.168.1.250. - You have a custom router/extender combo and the documentation or setup process is unclear.
- You suspect hardware failure (LED lights not lighting up, or the extender is very old/outdated).
- After setup the extender is not providing reliable coverage—it drops frequently or has very low speeds.
When you call, have the following info ready:
- Model number of your extender
- Your router brand and model
- The WiFi name (SSID) and password of your main network
- What you’ve tried so far (browser, URL, IP address, reset steps)
Summary
Logging into your WiFi extender via mywifiext.net is a crucial step to managing and optimizing your extended network. Here’s a quick recap:
- Connect to the extender’s network SSID (e.g., NETGEAR_EXT).
- Open a browser and go to
http://mywifiext.net(or IP192.168.1.250if necessary). - Enter your login credentials (default: admin / password) and access the setup panel.
- Link the extender to your existing router, configure the SSID/password for the extender, then relocate it.
- If you encounter issues, use the troubleshooting tips above or call support at +1-872-777-1190 or 1 (833).800.3030.
By following this guide, you should be able to log in, configure, and optimize your WiFi extender to enjoy better coverage and fewer dead-zones in your home or office.