


Introduction
Setting up and installing your Epson printer doesn’t have to be difficult. Whether you’re connecting it for the first time or reinstalling after a reset, this step-by-step guide will walk you through everything you need to know. Epson printers are known for their reliability, high-quality prints, and wireless connectivity. By the end of this guide, you’ll have your printer up and running smoothly.
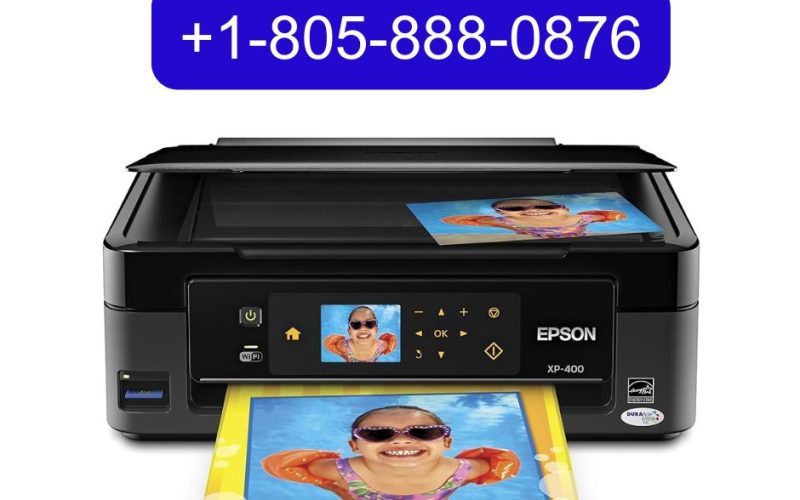
If at any point you face difficulties during setup or installation, you can contact Epson Printer Support at +1–805–888–0876 for expert assistance.
Why Choose Epson Printers?
Before diving into the setup process, let’s quickly look at why Epson printers are so popular among home and office users:
-
High Print Quality – Crisp, professional prints with rich colors.
-
Wide Variety – Inkjet, Eco Tank, and multifunction printers for every need.
-
Wireless Connectivity – Print from your smartphone, tablet, or laptop.
-
Cost-Efficient Options – Eco Tank printers save money with refillable ink tanks.
-
User-Friendly Software – Epson provides easy-to-use drivers and apps.
Now, let’s go through the installation process step by step.
Step 1: Unbox and Prepare Your Epson Printer
-
Carefully remove the Epson printer from its packaging.
-
Take out all protective tapes and materials.
-
Check that you have all included items:
-
Power cable
-
Installation CD/DVD (in some models)
-
Ink cartridges or ink bottles (for Eco Tank models)
-
Setup guide/manual
-
-
Place the printer on a flat, stable surface near your computer and Wi-Fi router.
Step 2: Connect Power and Install Ink
-
Plug the power cable into your Epson printer and a wall outlet.
-
Press the Power button to turn it on.
-
Open the printer’s ink cartridge compartment.
-
Install the ink cartridges (or fill the Eco Tank with the correct ink bottles).
-
Follow on-screen instructions on the printer’s display panel (if available) to initialize the ink system.
Important: Always use genuine Epson ink for best performance and to avoid damage.
Step 3: Load Paper into the Tray
-
Pull out the paper tray from the printer.
-
Adjust the paper guides to fit the size of your paper.
-
Load plain white paper into the tray.
-
Slide the tray back into the printer.
Step 4: Install Epson Printer Drivers
For your Epson printer to work correctly with your computer, you’ll need the correct drivers.
Option 1: Using Installation CD/DVD
-
Insert the CD/DVD into your computer and follow the on-screen instructions.
Option 2: Download from Epson Website
-
Go to the official Epson support website.
-
Enter your printer model number.
-
Download the latest driver and software package for your operating system (Windows or macOS).
-
Run the installer and follow on-screen steps.
Step 5: Connect Epson Printer to Computer or Network
Epson printers offer multiple connection options depending on your preference.
1. USB Connection (Wired)
-
Connect the printer to your computer using a USB cable.
-
Follow the installation prompts to complete setup.
2. Wireless Wi-Fi Setup
-
On your printer’s control panel, go to Wi-Fi Setup.
-
Choose Wi-Fi Setup Wizard.
-
Select your Wi-Fi network and enter the password.
-
Wait for the printer to connect successfully.
-
During driver installation, select Wireless Connection as your setup option.
3. Wi-Fi Direct (No Router Needed)
-
Enable Wi-Fi Direct from the printer’s menu.
-
Connect your computer or mobile device directly to the printer’s Wi-Fi signal.
Step 6: Install Epson Connect for Mobile Printing
Epson offers Epson Connect, a suite of mobile printing solutions.
-
Epson iPrint App – Print from iOS/Android devices.
-
Email Print – Send documents to your printer via email.
-
Remote Print Driver – Print documents from anywhere with internet access.
Download and install Epson Connect services from Epson’s official site to enjoy mobile printing.
Step 7: Print a Test Page
-
Open your printer settings on your computer.
-
Choose Print Test Page.
-
If the test page prints correctly, your Epson printer is ready to use.
-
If not, double-check connections, drivers, and ink levels.
Common Epson Printer Installation Issues (and Fixes)
Even though Epson printers are easy to install, some users may face problems. Here are quick fixes:
-
Printer not detected by computer → Reinstall drivers or try a different USB port.
-
Wi-Fi connection failed → Re-enter the Wi-Fi password carefully; restart your router.
-
Poor print quality → Run a nozzle check and cleaning cycle from the printer settings.
-
Paper jams → Remove jammed paper carefully and reload correctly.
Tips for Smooth Epson Printer Setup
-
Place the printer within range of your Wi-Fi router for stable connectivity.
-
Keep your Epson drivers updated from the official website.
-
Use genuine Epson ink and recommended paper for best results.
-
Register your printer on Epson’s website for warranty and updates.
Why Call Epson Printer Support?
If you face challenges during setup, don’t waste hours troubleshooting. Expert support is just a call away. The Epson technical team can assist you with:
-
Printer driver installation
-
Wireless setup and connectivity issues
-
Ink cartridge or Eco Tank troubleshooting
-
Print quality optimization
-
Error messages and software updates
Call Epson Printer Support at +1–805–888–0876 for immediate help.
Final Thoughts
Setting up an Epson printer may seem technical, but with the right steps, it’s simple and straightforward. By following this guide, you should be able to unbox, install, connect, and print in no time. Epson’s wide range of printers is built for convenience, and once installed, you can enjoy seamless printing from your computer, smartphone, or tablet.
Still stuck? Don’t worry! Contact Epson Printer Support at +1–805–888–0876 for fast, professional assistance.
FAQs
- How do I set up my Epson wireless printer?
To set up your Epson wireless printer, turn it on and go to the Wi-Fi Setup option on the control panel. Select Wi-Fi Setup Wizard, choose your Wi-Fi network, and enter the password. Once connected, download and install the latest Epson drivers from the official Epson website. During installation, select Wireless Connection as your setup option. After completing the process, try printing a test page to confirm the connection.
- How do I download and install Epson printer drivers in Windows 11?
Visit the official Epson Support website, enter your printer model, and select your operating system. Download the latest driver and software package, then run the installer. Follow the on-screen instructions to complete the setup. If your printer is connected via USB or Wi-Fi, the driver will automatically detect it during installation.
- How do I connect my Epson printer to my computer?
You can connect your Epson printer to your computer either with a USB cable or via Wi-Fi. For USB, simply plug the cable into your computer and install the Epson driver software. For wireless, go to the printer’s Wi-Fi Setup menu, connect it to your Wi-Fi network, and then install the drivers from the Epson website. During setup, select Wireless Connection to complete the process.
- How do I set up my Epson printer to print from my phone?
To print from your phone, first connect your Epson printer to Wi-Fi. Then, download the Epson iPrint app from the App Store or Google Play. Open the app, detect your printer, and select it from the list. Once connected, you can print documents, photos, or webpages directly from your smartphone.
- How do I connect my Epson printer to Wi-Fi Direct?
On your Epson printer’s control panel, go to Wi-Fi Setup and select Wi-Fi Direct Setup. The printer will display a network name (SSID) and password. On your phone or computer, open Wi-Fi settings, select the printer’s Wi-Fi Direct network, and enter the password. Once connected, you can print directly without a router.
- Why can’t the Epson Connect printer setup find my printer?
This usually happens if the printer is not connected to the same Wi-Fi network as your computer or mobile device. Make sure your printer is powered on, Wi-Fi is enabled, and both devices are on the same network. Restarting your router and printer can also help. If the issue persists, reinstall the Epson drivers and try again.