


Introduction
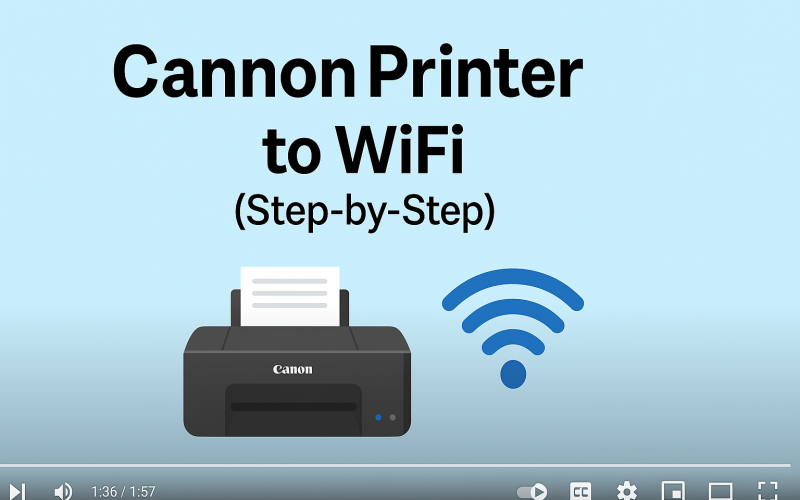
How to connect Canon printer to WiFi ║ +1-801-878-6858 ║, power it on and access the wireless setup from the control panel. Select your WiFi network, enter the password, and confirm the connection. You can also use the Canon PRINT app or WPS method for easy setup. Enjoy wireless printing from your computer, phone, or tablet once connected [Contact +1-801-878-6858 USA].
For Canon Printer Helpline Or Customer Support
Click Here For Live Chat With Us
Canon printers are well-known for their performance, reliability, and user-friendly features. One of the most useful capabilities of modern Canon printers is wireless connectivity. Connecting Canon printer to WiFi ║ +1-801-878-6858 ║ allows you to print from anywhere in your home or office without dealing with messy cables or being tied to one device.
Whether you’re setting up your Canon printer for the first time or trying to reconnect it after a reset, this guide will walk you through the entire process of connecting your Canon printer to a wireless network.
Why Connect Canon Printer to WiFi?
Wireless printing offers many benefits:
- You can print from multiple devices like laptops, smartphones, and tablets.
- No need to physically connect your printer with USB cables.
- It enables remote printing and cloud access for select Canon models.
- Great for shared office environments or home users with multiple devices.
But before you can enjoy these benefits, your printer must be properly connected to your WiFi network.
Preparation Before You Begin
Before starting the WiFi setup process, make sure you have the following ready:
- Your Canon printer powered on and ready
- An active WiFi network (wireless router or access point)
- The WiFi network name (SSID) and password
- A device (PC, laptop, smartphone) connected to the same WiFi network
Once you have these essentials, you can proceed with the Canon printer WiFi setup.
Method One: Connect Using the Printer’s Control Panel (for models with a screen)
Many Canon printers, especially those from the PIXMA series, feature a built-in display that makes wireless setup straightforward.
Step-by-Step Instructions:
- Step One: Power On Your Printer: Ensure your Canon printer is turned on and in a ready state. The power light should be solid.
- Step Two: Navigate to the WiFi Setup Menu: On the printer’s home screen, press the “Setup” or “Settings” button (usually represented by a gear icon). Then select “Wireless LAN setup.”
- Step Three: Choose WiFi Network: Your printer will begin searching for available wireless networks. Select your network name (SSID) from the list.
- Step Four: Enter WiFi Password: When prompted, enter your network password using the on-screen keyboard. Be careful with uppercase letters and numbers.
- Step Five: Confirm and Connect: Once the password is entered, the printer will attempt to connect. If successful, a confirmation message will appear, and the WiFi icon will show a stable signal.
Method Two: Connect Using WPS (Wi-Fi Protected Setup)
If your wireless router supports WPS, this is a quick and easy way to connect without entering a password.
Step-by-Step Instructions:
- Step One: Activate WPS on Your Printer: On the printer’s control panel, go to “Wireless LAN setup” and select “WPS Push Button Method.”
- Step Two: Press WPS Button on Your Router: Within two minutes, press and hold the WPS button on your router until the WPS LED begins flashing.
- Step Three: Establish Connection: The printer will automatically connect to the network. Once connected, a confirmation will display.
Method Three: Use Canon PRINT Inkjet/SELPHY App (for Smartphones)
If your printer doesn’t have a screen or you prefer using a mobile device, Canon’s official app is a great option.
Step-by-Step Instructions:
- Step One: Download the Canon PRINT App: Install the app from the App Store or Google Play.
- Step Two: Add Your Printer: Open the app and follow the prompts to add a new printer. Select “Set up new printer” and choose “Connect via WiFi.”
- Step Three: Follow On-Screen Instructions: The app will guide you through connecting the printer to your wireless network. You may need to temporarily connect your phone to the printer’s WiFi signal to complete the setup.
For Canon Printer Helpline Or Customer Support
Click Here For Live Chat With Us
What to Do If Your Canon Printer Won’t Connect to WiFi
If your Canon printer is not connecting to WiFi +1-801-878-6858, try the following troubleshooting tips:
- Check Network Password: Make sure the WiFi password is entered correctly.
- Restart Devices: Power cycle your printer, router, and connected device.
- Move Closer to Router: Ensure the printer is within a strong signal range.
- Reset Network Settings: You can reset your printer’s network settings and try again.
- Check for Interference: Avoid placing your printer near microwaves or cordless phones.
- Update Firmware: Visit Canon’s support site to check if your printer has the latest firmware.
If problems persist, consult the user manual for your specific model or reach out to Canon support.
Benefits of a Wireless Canon Printer
Once your Canon printer is successfully connected to WiFi, you’ll enjoy seamless printing and additional features:
- Print from Anywhere: Use AirPrint, Google Cloud Print, or Canon PRINT app.
- Mobile Printing: Send documents directly from your smartphone or tablet.
- Shared Access: Multiple users can print without plugging in.
- Remote Management: Monitor ink levels and perform maintenance via app or browser.
Final Thoughts
Setting up a Canon printer on a WiFi network doesn’t have to be complicated. Whether you’re using the printer’s control panel, the WPS method, or a mobile app, the process is straightforward with the right instructions. Once connected, your Canon printer becomes a powerful wireless tool for home or office printing.
If you follow the steps outlined above and your Canon printer still won’t connect to WiFi +1-801-878-6858, don’t worry—Canon’s customer support +1-801-878-6858 and online resources are always available to help.