Introduction to Storage Sense
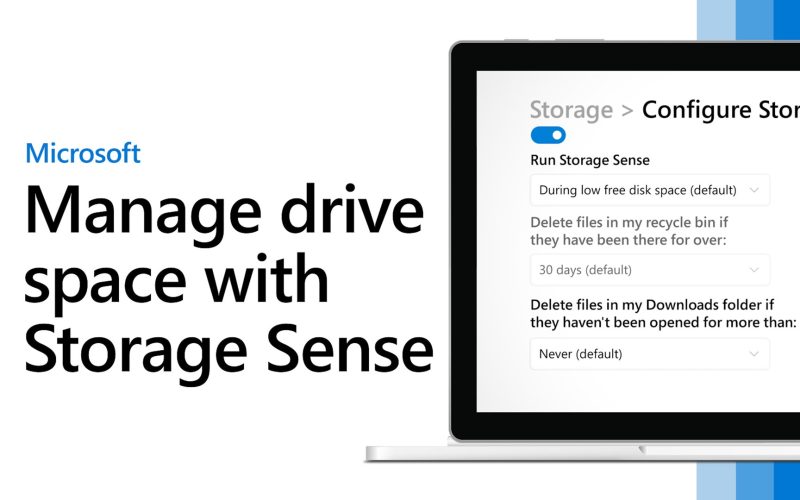
Storage Sense is a built-in feature in Windows 11 and Windows 10 that helps you manage your drive space efficiently. It automatically cleans up unnecessary files, such as temporary files and items in the Recycle Bin, to free up valuable disk space. This article will guide you through how Storage works and how to set it up according to your preferences.
How Storage Sense Works
By default, if Storage is turned on, it runs automatically when your device is low on disk space. It targets temporary files and clears them to create more room. However, it won’t touch items in your Downloads folder or OneDrive (or any other cloud provider) unless you configure Storage to do so.
Turn On Storage Sense
To enable Storage, follow these simple steps:
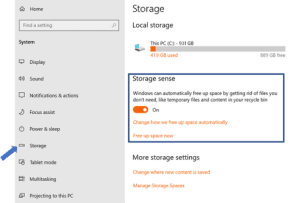
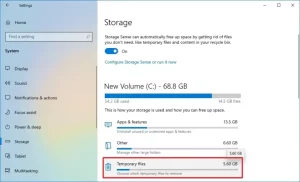
- Go to Start > Settings > System > Storage.
- Under “Storage Sense,” turn on the switch to automatically free up drive space.
Choose Your Storage Sense Settings
You can customize Storage to suit your needs. Here’s how:
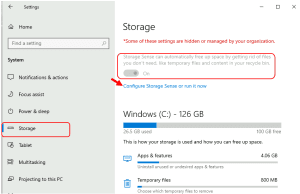
- Go to Start > Settings > System > Storage.
- Select “Configure Storage Sense” or “Run it now.”
Choose When to Run Storage Sense
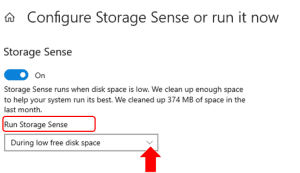
- Make sure Storage is turned on.
- Under “Run Storage Sense,” select how frequently you want it to run when you’re online and signed in.
Choose Your Preferences for Deleting Temporary Files
Storage Sense allows you to specify when to delete files from your Recycle Bin or Downloads folder:
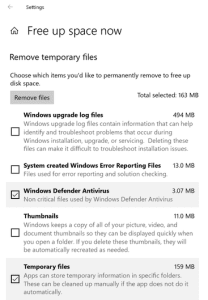
- Under “Temporary files,” choose how long files in the Recycle Bin will be kept before deletion based on their age.
- For items in the Downloads folder, decide how long unopened files should be retained before deletion. By default, these files are never deleted unless you specify a duration.
You can also clean up unneeded files associated with apps on your PC by keeping “Delete temporary files that my apps aren’t using” selected.
Manage Locally Available Cloud Content
If you use cloud services like OneDrive and have files stored locally, Storage Sense can help you manage them:
- Note: Cloud content settings are visible only when you’re signed in to your cloud account.
- You can choose when inactive cloud files become online-only. Under “Content will become online-only if not opened for more than,” select your preferred time frame. The default for OneDrive cloud files is 30 days.
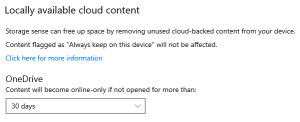
It’s essential to understand that this setting won’t permanently delete any files. Instead, it will make files online-only when not accessed within the specified time. If you have files marked as “Always keep on this device,” they won’t be managed by Storage.
Conclusion
Storage is a useful tool that simplifies drive space management on your Windows 11 and Windows 10 devices. By following the instructions in this guide, you can optimize your storage usage and ensure your PC operates smoothly with enough disk space at all times. Take advantage of Storage to keep your system clutter-free and perform at its best.


