


This content is designed for individuals interested in setting up their Philips Hue Bridge to enhance their home lighting system. It caters to those who are new to smart home technology and want to learn how to transform their traditional lighting into a dynamic, interactive, and controllable system. Readers seeking step-by-step guidance on setting up the Philips Hue Bridge and understanding its benefits will find this article informative and practical.
Introduction: Elevate Your Lighting with Philips Hue Bridge
Modernizing your home lighting has never been easier than with the Philips Hue Bridge. By seamlessly integrating traditional lighting fixtures into a smart ecosystem, Philips Hue brings convenience and innovation to your living space. In this guide, we’ll walk you through the simple process of setting up your Hue Bridge and unlocking a new realm of smart lighting possibilities.
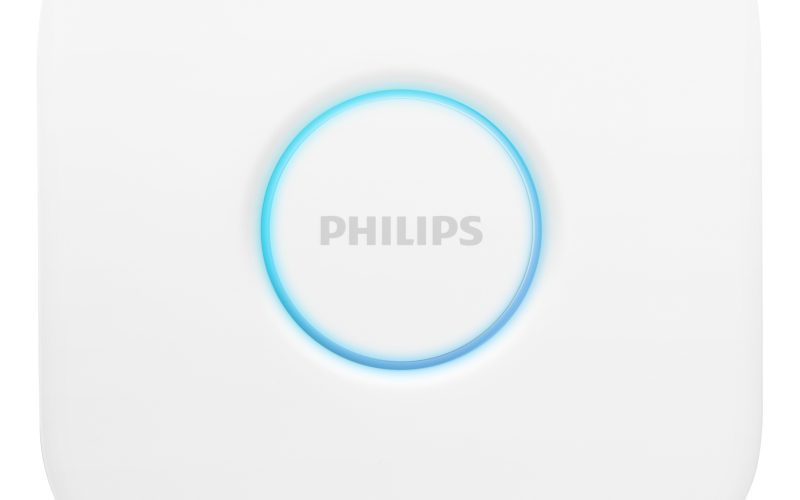
What Is the Philips Hue Bridge and Its Purpose?
At the heart of the Philips Hue smart lighting system lies the Hue Bridge. This central component acts as a communication hub, linking your Philips Hue smart bulbs and accessories to your home network. The result? Control and management of your lighting from anywhere using devices like smartphones, tablets, and smart assistants. With the Hue Bridge, your lighting becomes more than just illumination; it transforms into an interactive element that adapts to your needs and preferences.
Features Unleashed: How the Hue Bridge Enhances Your Lighting
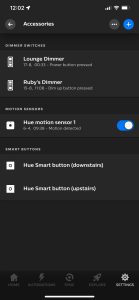
The Philips Hue Bridge isn’t merely a bridge—it’s a gateway to a world of advanced features. As a communication hub, it forms a mesh network that extends your light’s range, allowing you to expand your smart lighting across your home. Acting as a central control center, it receives commands from various sources like the Philips Hue app, voice assistants, and compatible smart home platforms.
Among its standout features are automation and scenes. Create routines that mimic sunrise, change colors based on triggers, and activate scenes with a tap or voice command. Integration with third-party platforms allows you to weave your Philips Hue lighting into larger smart home setups.


Step-by-Step Guide: Setting Up Your Philips Hue Bridge
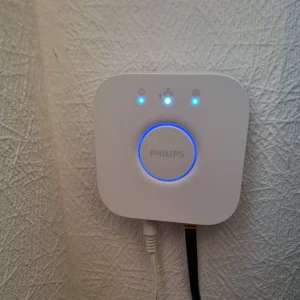
- Plug the Hue Bridge into a power socket.
- Connect the Hue Bridge to your router via the included Ethernet cable.
- Wait for all three lights on the Hue Bridge to turn on.
- Download the Hue app (iOS or Android) and ensure your device is on the same Wi-Fi network as the Bridge.
- Follow on-screen instructions in the app. If the Bridge isn’t found initially, press the Bridge’s button and retry in the app.
- Select “Connect a Hue Bridge” and follow the on-screen prompts.
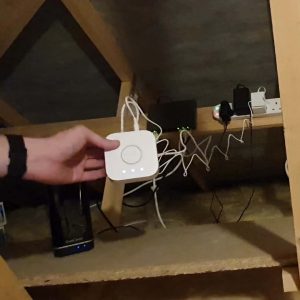
Image by:https://www.smarthomepoint.com/
Seamlessly Transform Your Home Lighting with Philips Hue Bridge
The investment in a Philips Hue Bridge amplifies your smart lighting experience. While not mandatory, the Bridge elevates control, allowing you to manage up to 50 lights across your home. Enjoy a simulated sunrise, personalized lighting scenes, and integration with voice assistants.
With the Philips Hue Bridge, your lighting becomes an extension of your lifestyle. Control energy use, enhance security, and customize your living space effortlessly. The Bridge is your ticket to a lighting journey that’s as dynamic as it is innovative.