Apple Notes: A Comprehensive Guide
Apple Notes is more than just a note-taking app—it’s a robust tool for enhancing productivity on both iPhones and Macs. With its intuitive interface and a range of organizational features, it’s a go-to application for many. In this article, we’ll delve into seven effective strategies that can help you organize your Apple Notes for better productivity.
1. Organizing with Folders
One of the fundamental ways to enhance your note-taking experience is by organizing your notes into folders. On your Mac, creating a new folder in Notes is straightforward. Navigate to File > New Folder from the menu bar or use the New Folder option in the bottom-left corner of the Notes window. After naming the folder, drag your notes into it for seamless organization.
Your iPhone also offers this feature. Simply tap the New Folder button at the bottom-left of the Folders screen, name your folder, and save it. To move notes into folders, tap the three-dot icon, select the desired notes, and use the Move option to place them into the designated folder.
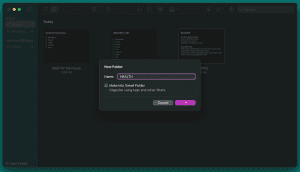
2. Harnessing the Power of Smart Folders
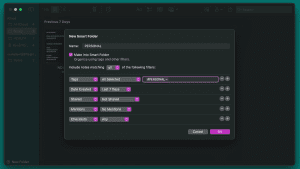
Smart Folders provide a more automated approach to note organization. On your Mac, create a new Smart Folder through File > New Smart Folder. Customize it by adding filters such as tags, dates, attachments, and more. The app will automatically sort and include notes matching the filters. On your iPhone, tap New Folder, name it, and select Make into Smart Folder, adding your desired filters.
3. Efficient Search Techniques
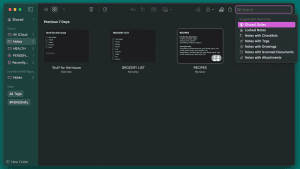
Searching for specific types of notes can be time-consuming. Instead, narrow down your search by looking for notes with specific attributes like attachments or checklists. On Mac, use the search field in the top-right corner of the Notes window and choose from the dropdown suggestions. On iPhone, tap the Search bar in the Notes folder to access suggested searches.
4. Personalize with Emojis in Folder Names
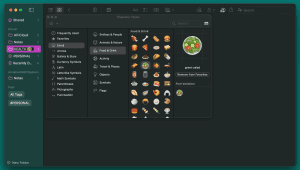
While Apple Notes doesn’t offer extensive folder customization, you can distinguish folders by adding emojis to their names. On Mac, use shortcuts like Fn + E to insert emojis or go to Edit > Emoji & Symbols. On iPhone, enable the emoji keyboard or utilize emoji-centric keyboard apps. Long-press the folder, select Rename, and add emojis to visually differentiate folders.
5. Visual Aids and Custom Images
Incorporate images into your notes to improve visual organization. Open a note, click Window > Photo Browser, and drag photos into notes on your Mac. Control-click the image and choose View as Small Images for a streamlined look. On iPhone, tap the note, use the camera icon to add images, and set them to display as small images for easier navigation.

6. Simplify Searching with Hashtags
Utilize hashtags to create tags for notes, making searching a breeze. On Mac, add a hashtag to your note, and use Spotlight search (Command + Space) to find notes with that tag. On iPhone, swipe down to access Spotlight, type your search term, and locate tagged notes quickly.

7. Seamless Integration with Calendar and Reminders
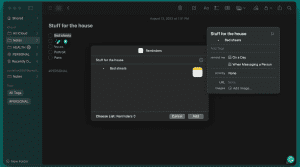
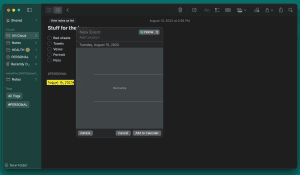
Linking Apple Notes with Calendar and Reminders enhances productivity. Create reminders from Notes by selecting text and Control-clicking it on Mac, or using Siri on iPhone. For calendar events, include specific dates in notes and create events directly on both platforms.
Conclusion
Apple Notes stands as a powerful tool for efficient note-taking and organization. By leveraging features like folders, smart folders, search techniques, emojis, images, hashtags, and integration with Calendar and Reminders, you can maximize your productivity. With consistent practice, you’ll streamline your workflow and reap the benefits of a well-organized digital note-taking system.


